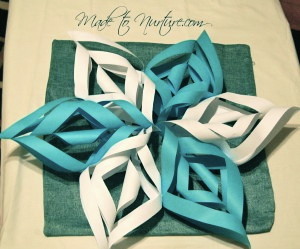
Every year, someone at work makes these gorgeous snowflakes, and every year we have people comment on how beautiful they are and ask how they are made. Have you ever wondered how to make a 3D Snowflake? They are so pretty and look complex, but in actuality, they are fairly easy to make.
(**Click for Printable Version…3-D Snowflakes)
What you’ll need:
6 pieces of paper
Glue
Stapler
Scissors
Pencil
Ruler

What you’ll do:
1) If the paper you are using is not yet a perfect square, fold paper over diagonally (make a right angle triangle) and then cut the excess paper off.
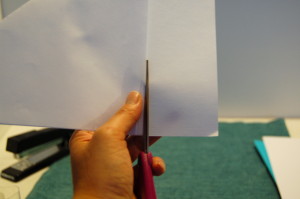
You should now have a perfect square.
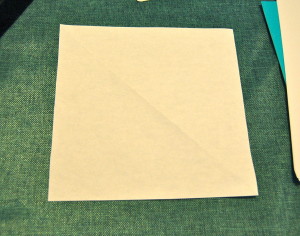
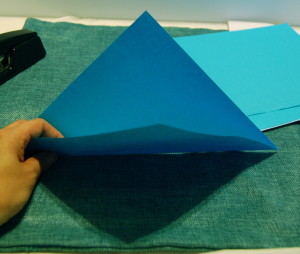
2) Fold the paper diagonally again, to make a right angle triangle. Fold it over again to make an isosceles triangle.
\
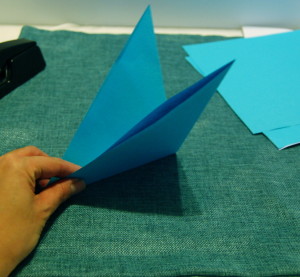
3) With a pencil and ruler, lightly draw a line about 1/4″ from the folded side of the triangle.
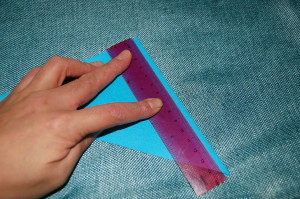
4) Starting on the opposite side of where you drew the line, cut a straight line perpendicular to the line you drew, and stop at the line. Do this 3 times. Then unfold into a square again.
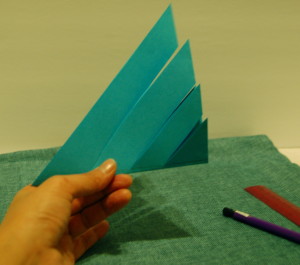
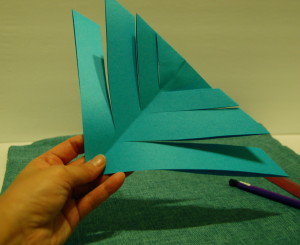
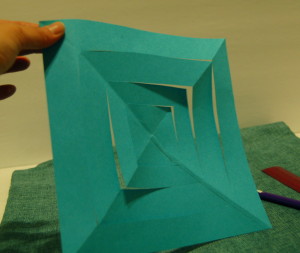
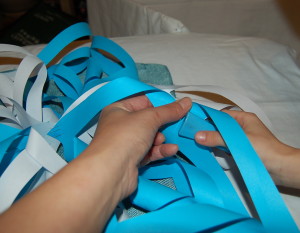
5) Take the opposite corners of the centre “square” and curl them towards each other. Add a dab of glue on one corner and stick the other corner to it. Flip the paper over and do the same to the next opposite corners, flip and repeat, flip and repeat.
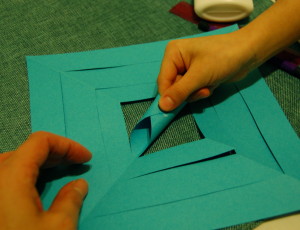

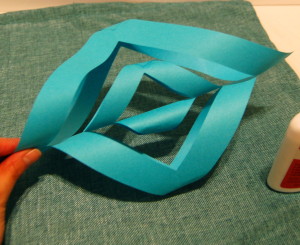
6) Repeat this process for the other 5 pieces of paper.
7) Take two completed pieces and glue them together at the bottom.
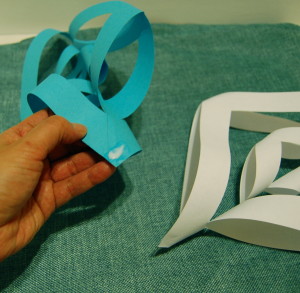
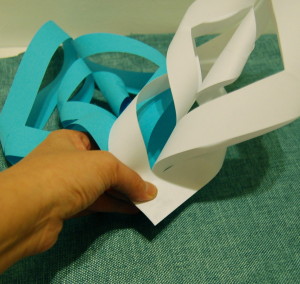
8) Glue another completed piece on. This is one half of the snowflake. Put it aside.
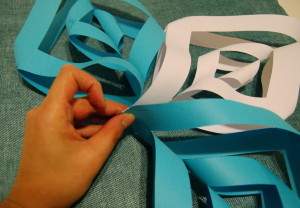
9) Glue the other three pieces together, as above. You should have two separate halves.
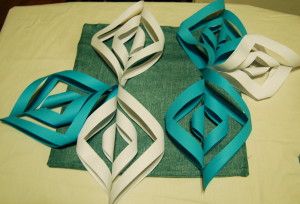
10) Staple the two sides together in the centre.
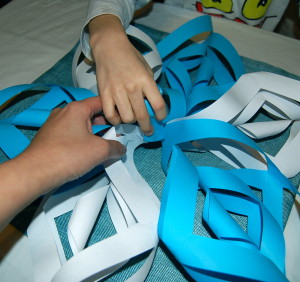
11) Now staple the sides of each piece to each other.


Awesome! My kids would love this!
Thanks Nadine. I hope you enjoy making them together!
Merry Christmas 🙂
Comments are closed.